A necessary step before starting your Facebook Campaigns is to make sure that you have a conversion tracking set up correctly.
Being able to measure conversions coming from Facebook visitors (after clicking on your ads), will help you optimize your campaigns and generate a higher ROI from every dollar you spend advertising in the biggest social network.
Before getting your hands dirty, you should understand the different types of conversions available on Facebook and how to use them.
The Different Types Of Facebook Conversions
As of June 2016, Facebook has simplified the way they handle conversions and this makes it easier to implement.
Basically there are two types of conversions: standard events and custom conversions.
Standard events are based on predefined events (for example, add to cart, purchase etc.) while custom conversions are more flexible and can be configured directly from Facebook Ads Manager without having to mess up with the pixel code installed on your website.
The first step before configuring either standard or custom conversions is to install the Facebook pixel on your website
Once you add the FB Pixel code on all your website pages, including those that are shown to the user after conversion is made (for example, your ‘Thank you’ pages), you can start configuring your conversions.
Facebook Standard Events VS Custom Conversions
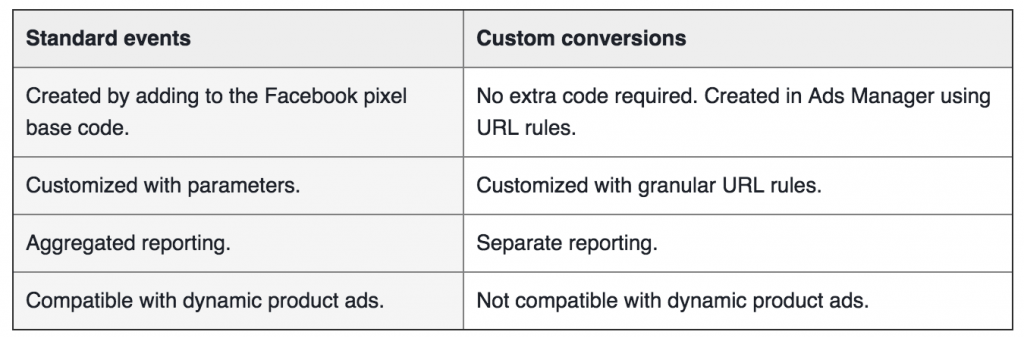
Both types can help you optimize your Facebook campaigns based on the actions users perform on your website. They have the following differences:
Custom Conversions are easier to set up since they don’t require any changes to the pixel code but they cannot be used with advanced campaign types like Dynamic Ads.
Standard events are more powerful and have more options but they require making changes to the Facebook pixel that is loaded in specific pages of your website.
Here is a table that explains all the differences between standard events and custom conversions.
How to Setup Facebook Standard Events on WordPress
Facebook has created a number of predefined events that can be added to the Pixel code, depending on the actions performed by the user i.e. viewing a particular page or performing a specific action i.e. completed the checkout process.
The default event that comes with the FB Pixel is “PageView”. As the name implies, it is triggered when a page is viewed and this information is passed back to Facebook.
The complete list of available events is shown below:
How to use Standard Events
Standard events are an addition to the FB Pixel Code. This means that on the page you want to add a standard event, the FB pixel code should already be present.
Let’s see a real example to understand how this works:
Assume that you have a ‘Contact Us’ form and upon submission you show users a ‘Thank You’ Page. From a business perspective, you consider this action to be a ‘Lead’.
On the ‘Thank You’ page, you already have the FB Pixel loaded to the HEAD of the page which by default tracks ‘page views’.
In order to track the form submissions and consider them as LEADS in FB, you also need to add the following code to the ‘Thank You’ page, after the FB pixel is loaded:
<script>
fbq(‘track’, ‘Lead’);
</script>
The easiest way to do this in WordPress is to make use of the AddFunc Head & Footer Code plugin which allows you to add JavaScript code to specific pages.
Your code on the ‘Thank You’ page, should look like this:
You can use the above example as a guide and add the necessary event code to the pages of your website that play a role in conversions. For example, if you are running an eCommerce website, you can tag your:
- Cart Page: With fbq(‘track’, ‘AddToCart’);
- Checkout Page: With fbq(‘track’, ‘InitiateCheckout’);
- Purchase Complete: With fbq(‘track’, ‘Purchase’, {value: ‘0.00’, currency: ‘USD’});
How to check that your FB code is installed correctly?
Facebook has a chrome extension you can use to test the implementation of your code. You first need to install the extension and then navigate to the page which has the code and click the Pixel Helper icon from the browser.
If everything is ok, you should see something like this:
Define Standard Events as Conversions in Facebook Business Manager
The last thing to do is to go to your Facebook Business Manager and create a conversion.
Follow these simple steps:
- Login to your Facebook Business Manager
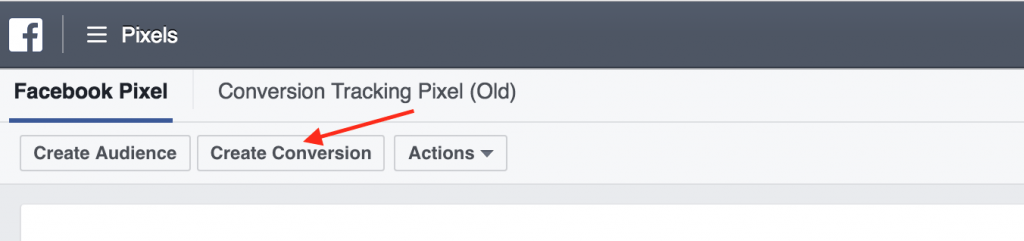
- Select Pixels from the top left menu and click the CREATE CONVERSION
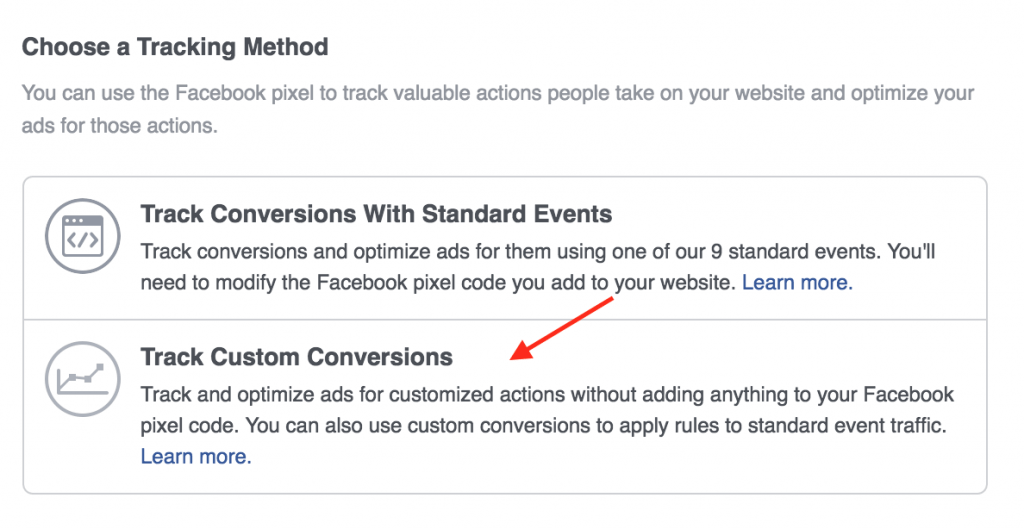
- Click on Track Custom Conversions
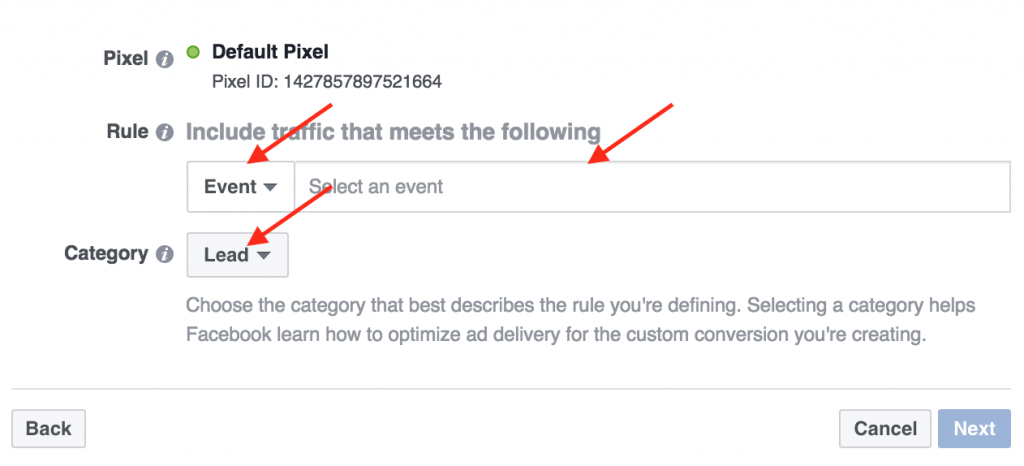
On the pop-up window make sure that you select:
EVENT: from the RULE dropdown and select the appropriate standard event from the list and also to choose the correct event CATEGORY.
As a final step, enter a name for your Conversion and optionally assign a default conversion value.
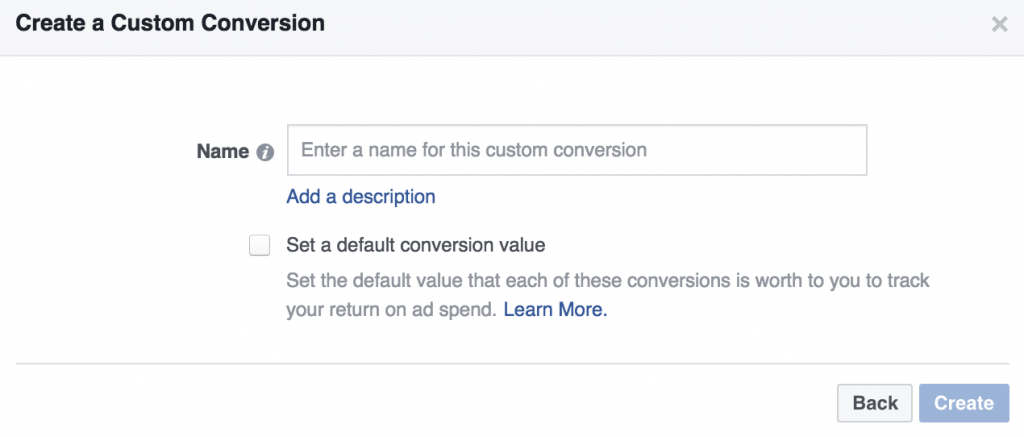
After you click CREATE, the conversion will be available in your CUSTOM CONVERSIONS menu and also in the Facebook Reporting.
How to Create Facebook Custom Conversions
To create CUSTOM CONVERSIONS, follow the steps below:
- Make sure that the FB Pixel code is added to the <head> section of ALL your website pages.
- Go to your Facebook Business Manager and select Custom Conversions.
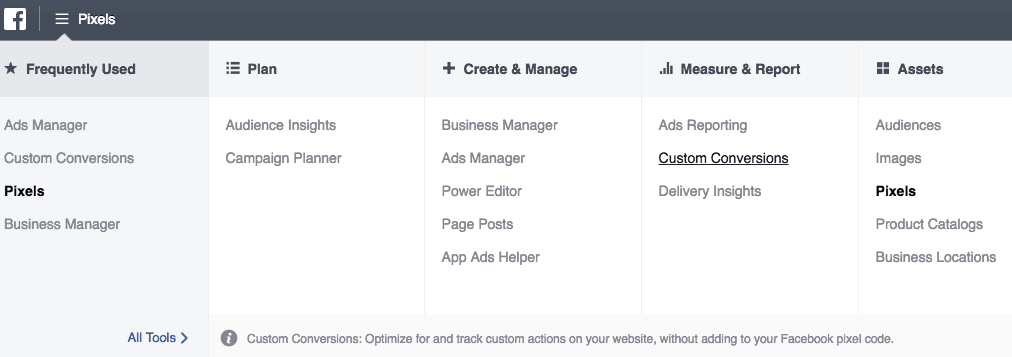
- Click Create Custom Conversion.
- You can now add rules to define a conversion. For example, if you are running a woocommerce store you can select URL CONTAINS and add “/checkout/order-received/” in the URL. This will create a custom conversion to track purchases made from your woocommerce website.
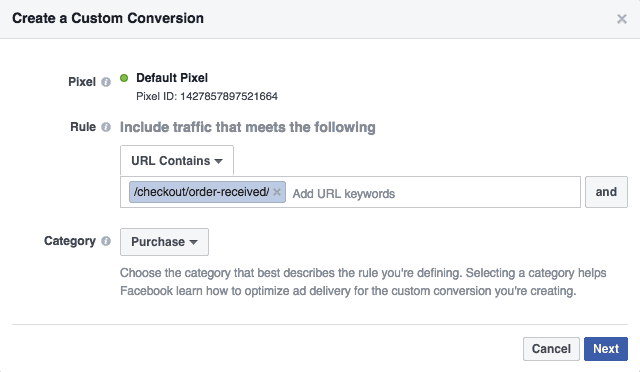
You can combine different URL RULES together using the ADD button.
When you are done, click NEXT and give a name to your Custom Conversion and click CREATE.
You can now use this custom conversion in your FB campaigns and Facebook Reporting.